기존에 SpringBoot 기반 웹 서비스 배포에 대한 가이드와 블로그는 많이 나와있지만,
대체적으로 옛날 버전(1.x.x)의 SpringBoot에 기반하고 있어 새로 공부하는 입장에서 참고하기엔 아쉬움이 있었습니다.
그렇다고 저처럼 무턱대고 최신 2.6 버전대의 SpringBoot로 설정한 뒤 고대로 따라하게 되면 매 순간 에러가 나는 것을 확인하실 수 있을텐데요…😢
이 글은 그런 에러들을 먼저 경험해보고 해결 방법을 찾아낸 입장으로서, 최신 버전의 SpringBoot에 기반하여 개발 및 배포하는 내용을 담고있습니다. (+ 최신 AWS 인터페이스 및 환경 설정은 덤)
프로젝트 코드는 Github에 업로드되어 있으며, 본 세션의 코드는 브랜치 chapter1에서 작업하였습니다.
개발 환경
- IDE : IntelliJ IDEA Ultimate
- OS : Mac OS X
- SpringBoot 2.6.1
- Java 8
- Gradle
1-1. SpringBoot & Gradle 프로젝트 생성하기
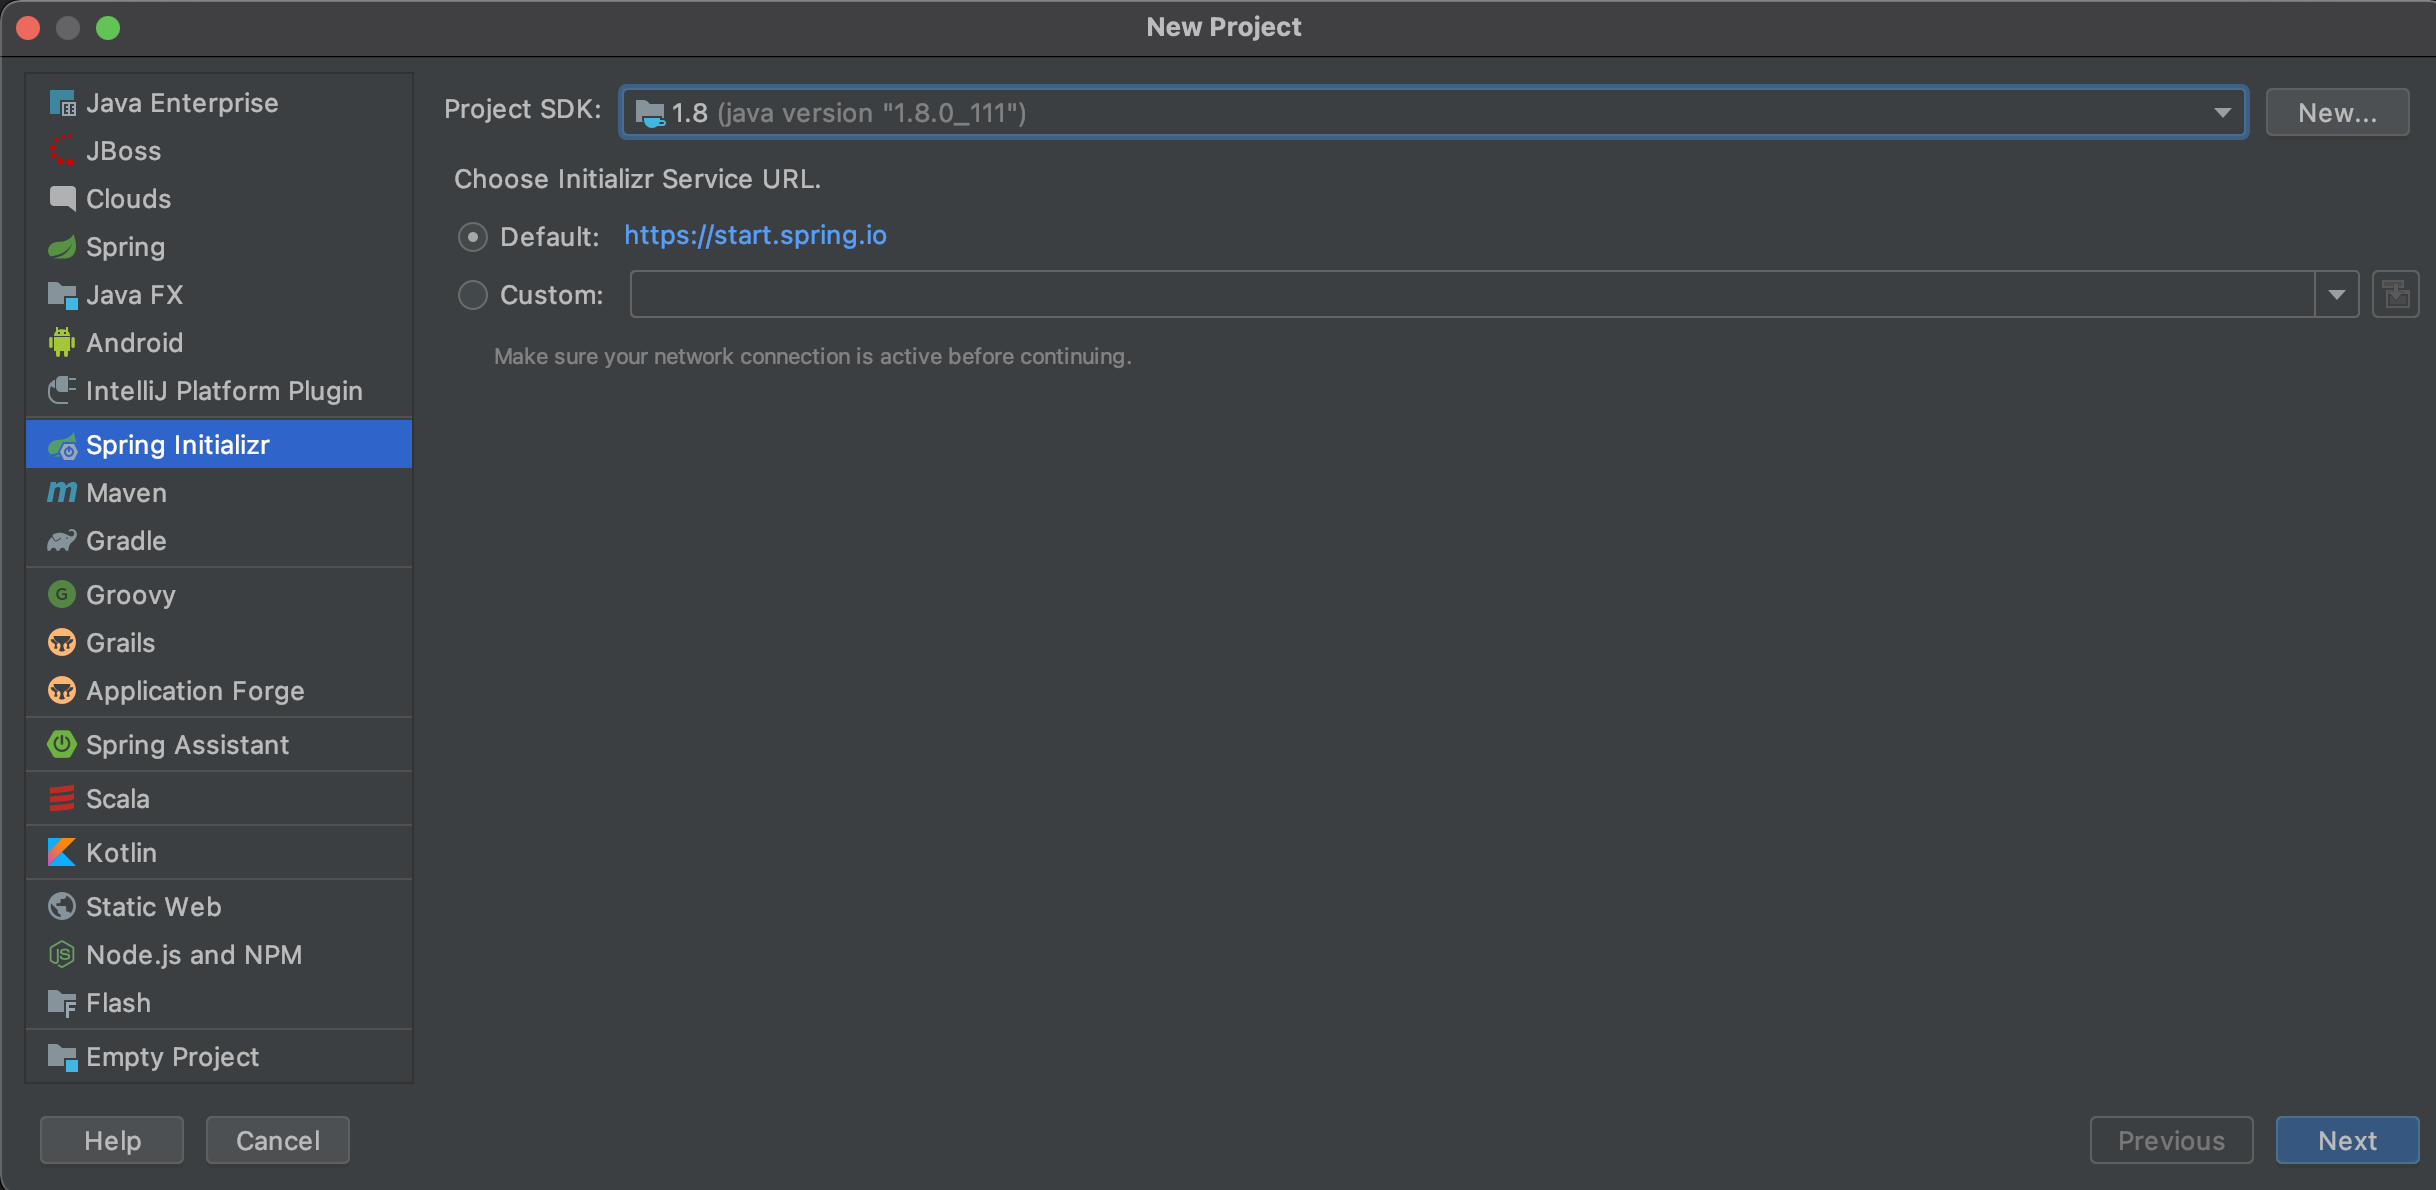
Spring Initializr을 선택하여 SpringBoot 프로젝트 생성을 시작합니다.
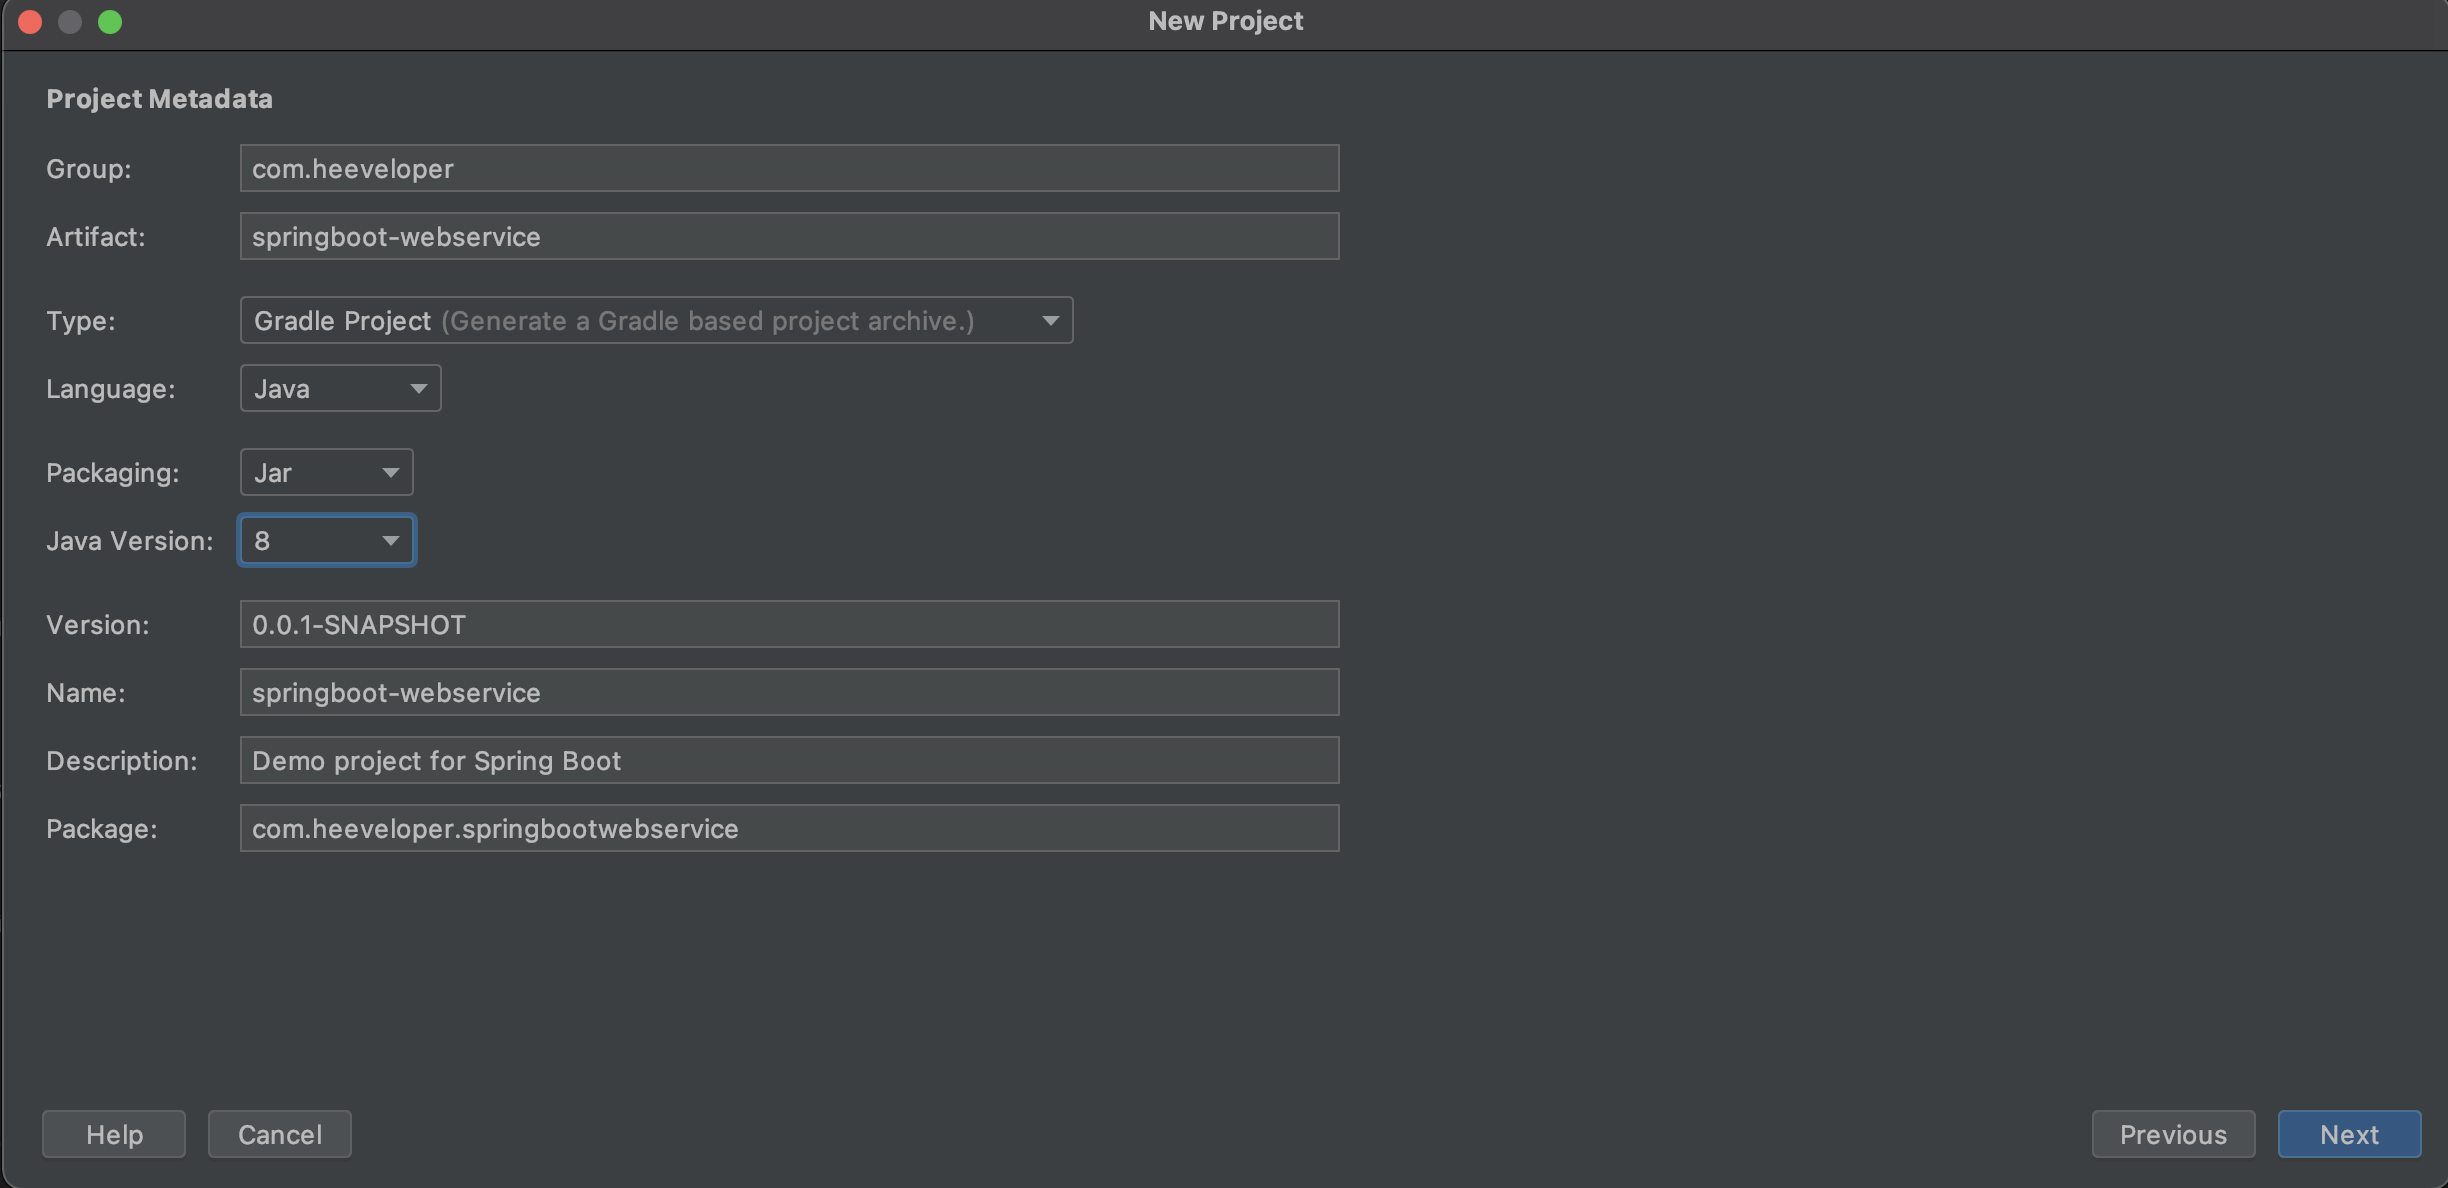
기본 패키지 com.heeveloper 부분은 여러분이 하고 싶은 이름으로 하시면 됩니다.
빌드툴은 Gradle 로 선택합니다.
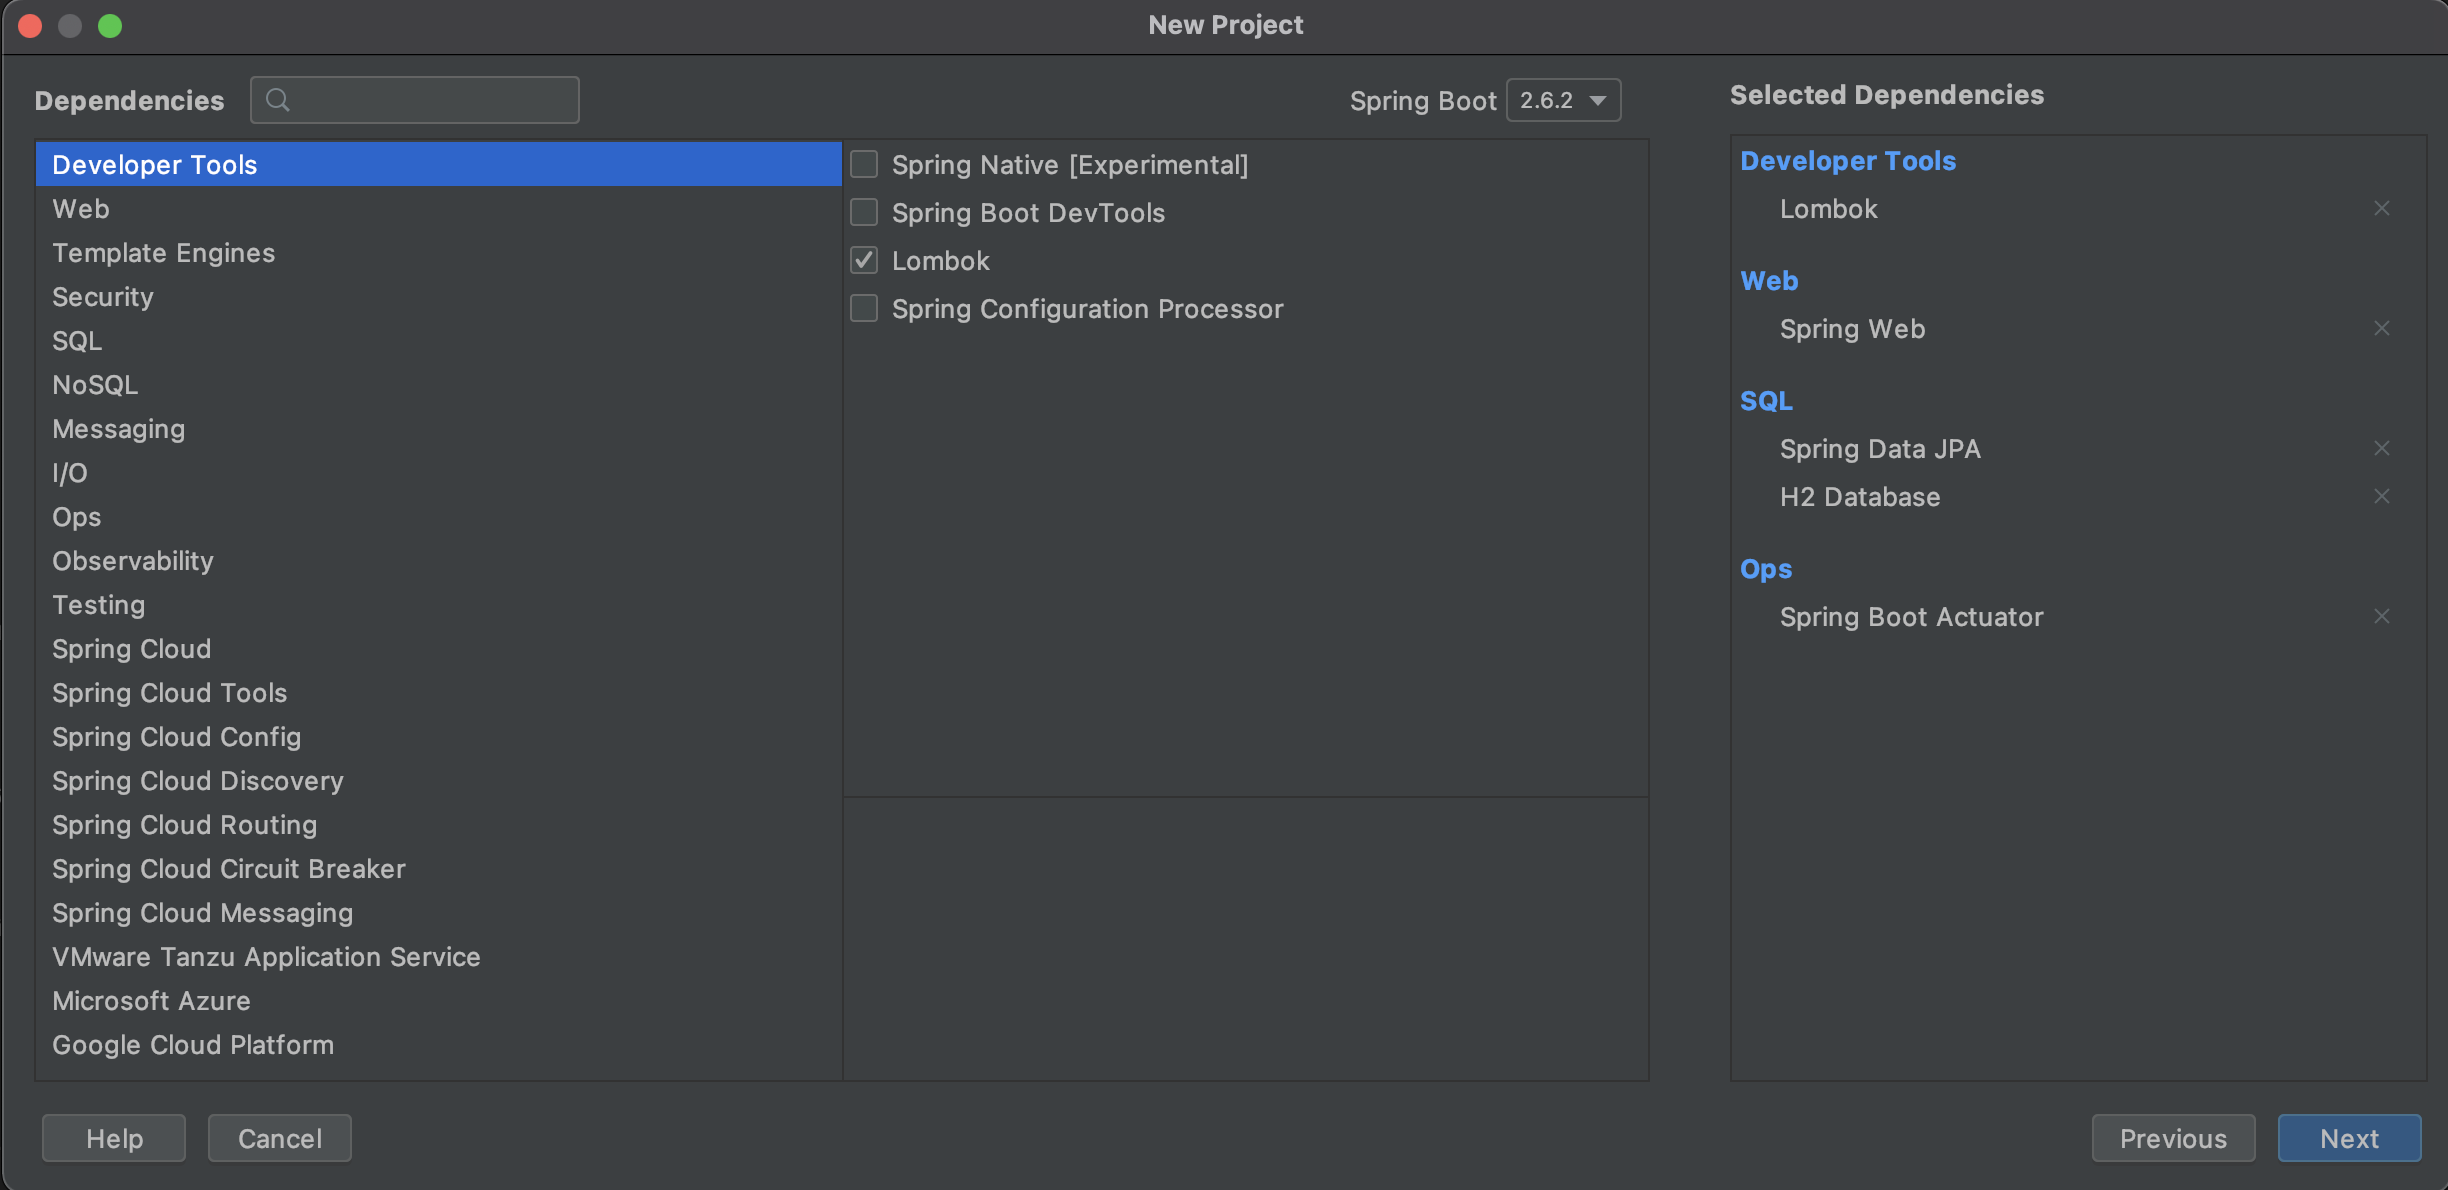
- Developer Tool의 Lombok
- Web의 Spring Web
- SQL의 Spring Data JPA, H2 Database
- OPS의 Actuators
를 선택하고 Next > Finish(완료) 버튼 클릭으로 프로젝트 생성을 완료합니다.
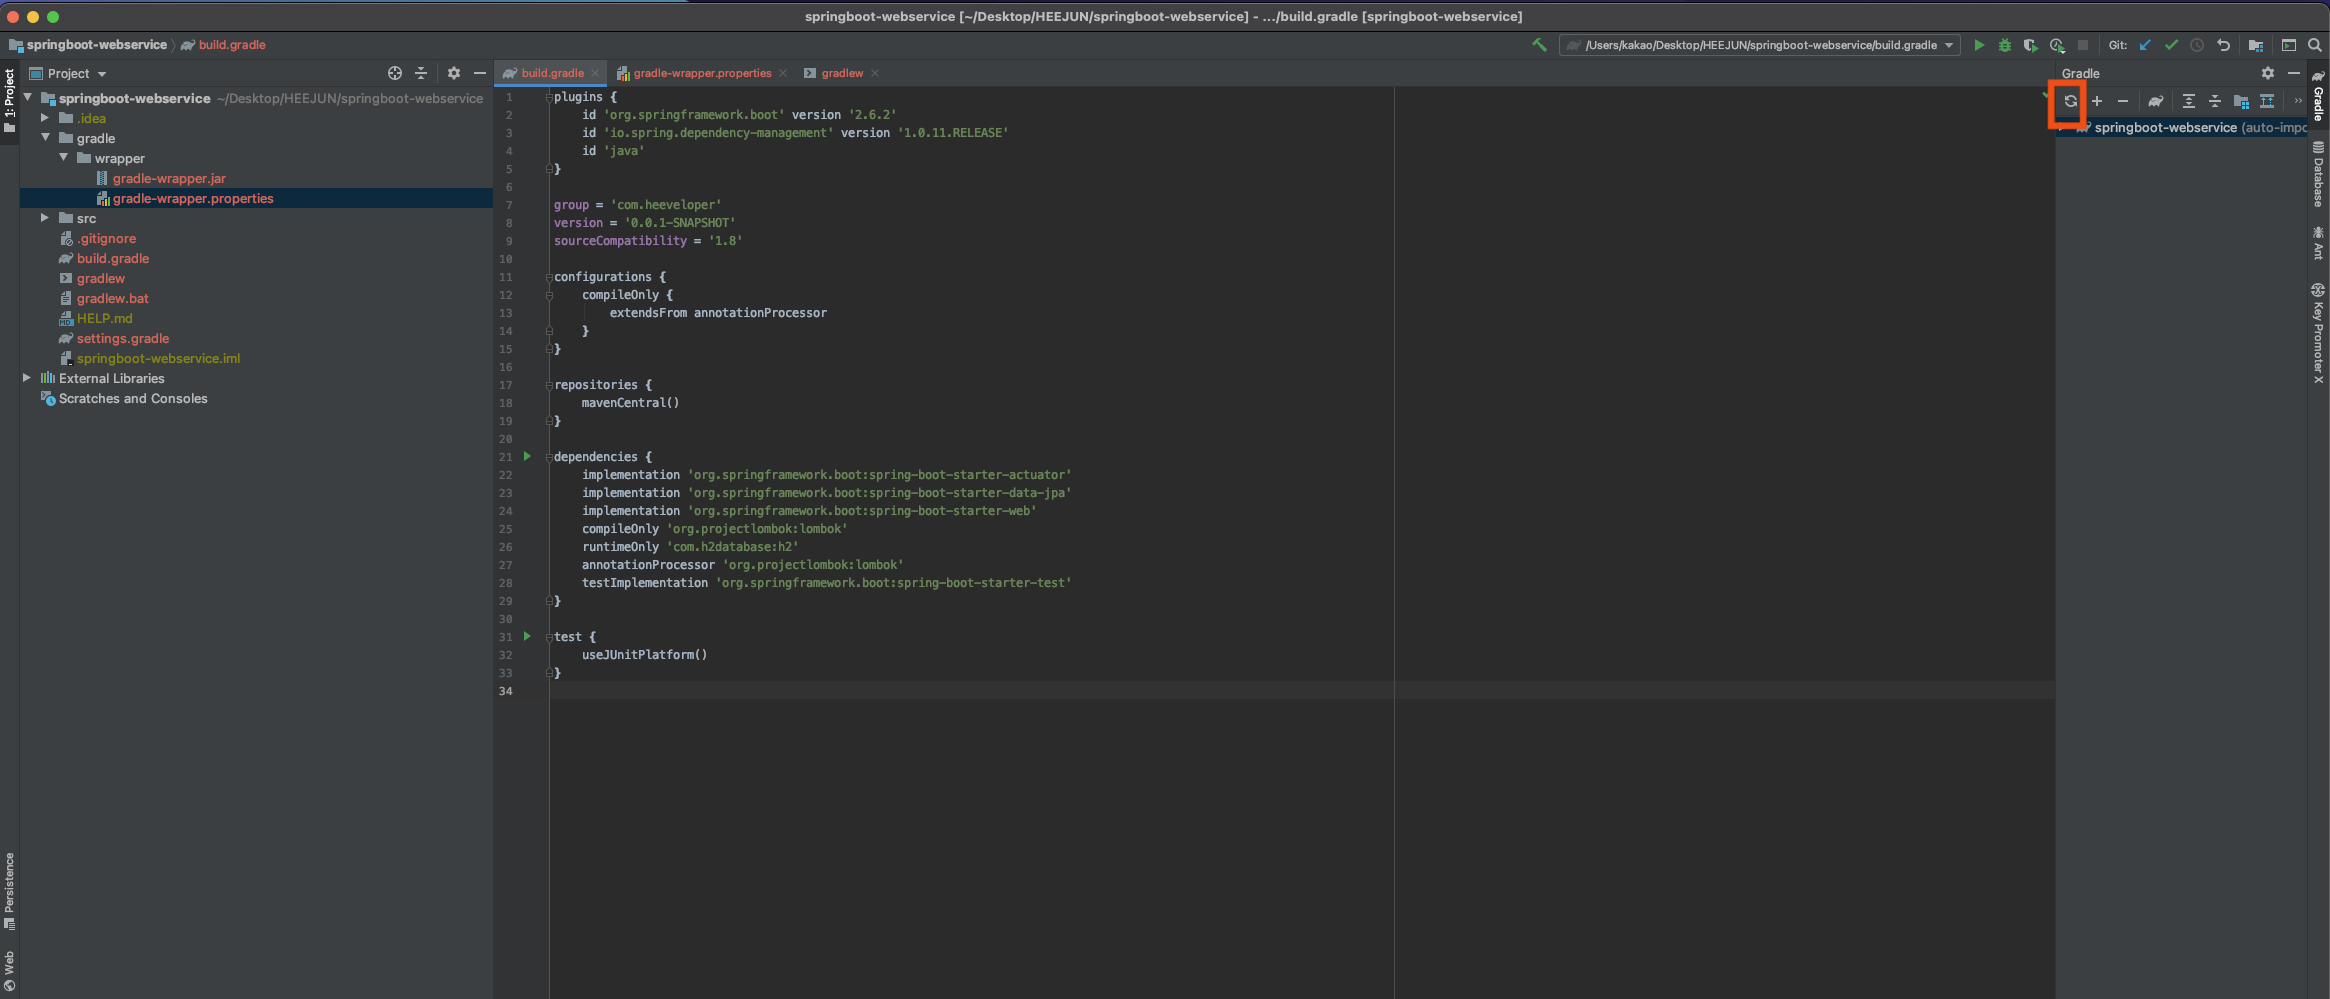
프로젝트 생성이 끝나면 Gradle 설정파일인 build.gradle은 아래와 같은 형태가 됩니다.
build.gradle
plugins {
	id 'org.springframework.boot' version '2.6.2'
	id 'io.spring.dependency-management' version '1.0.11.RELEASE'
	id 'java'
}

group = 'com.heeveloper'
version = '0.0.1-SNAPSHOT'
sourceCompatibility = '1.8'

configurations {
	compileOnly {
		extendsFrom annotationProcessor
	}
}

repositories {
	mavenCentral()
}

dependencies {
	implementation 'org.springframework.boot:spring-boot-starter-actuator'
	implementation 'org.springframework.boot:spring-boot-starter-data-jpa'
	implementation 'org.springframework.boot:spring-boot-starter-web'
	compileOnly 'org.projectlombok:lombok'
	runtimeOnly 'com.h2database:h2'
	annotationProcessor 'org.projectlombok:lombok'
	testImplementation 'org.springframework.boot:spring-boot-starter-test'
}

test {
	useJUnitPlatform()
}
프로젝트 생성이 완료되면 보통 해당 Gradle 설정으로 자동 Sync되나, 그렇지 않다면 화면 우측의 Gradle 탭 선택후 안에 Reimport 버튼을 눌러주세요.
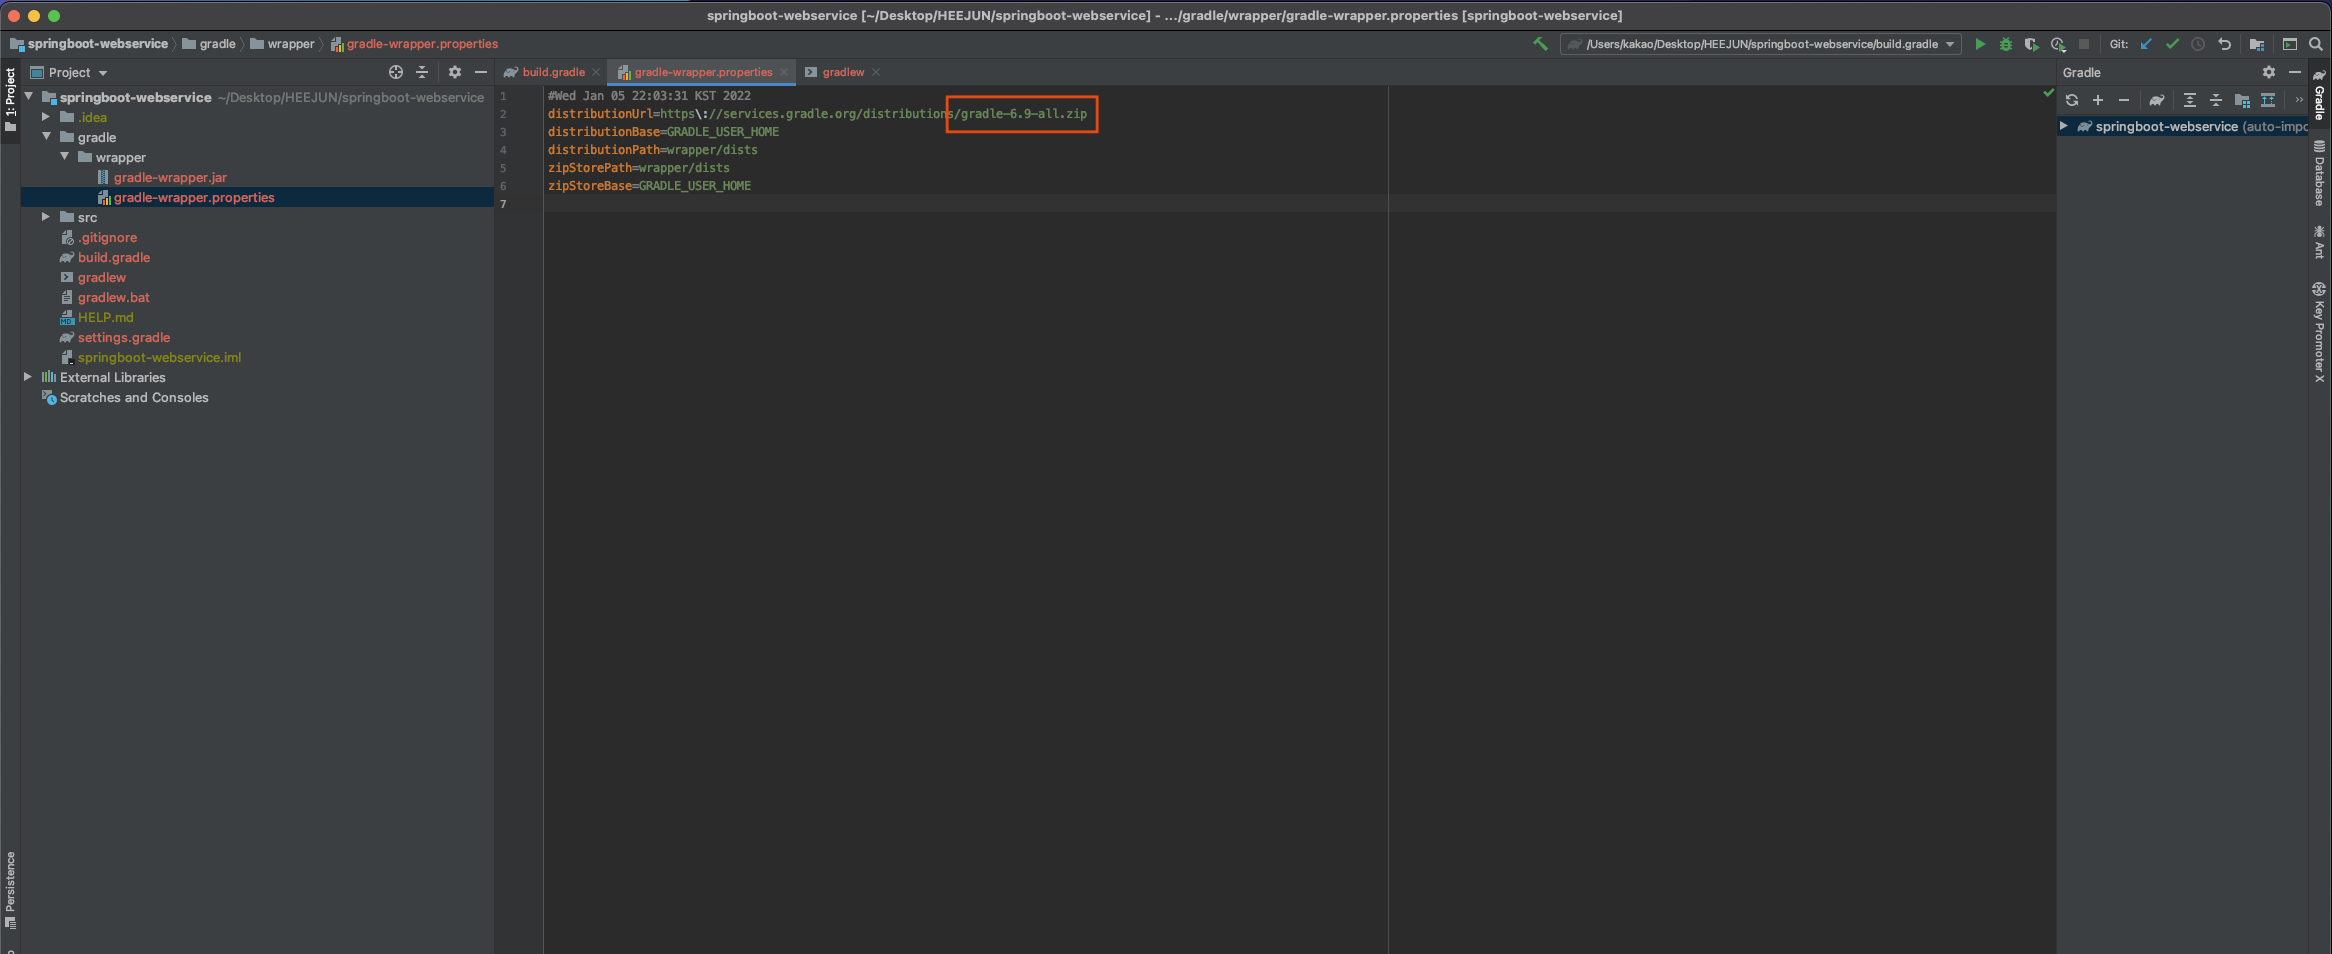
혹시나 ReImport시에 아래와 같은 에러 메세지가 뜨시면 gradle-wrapper.properties에서 gradle 버전을 낮춰주어야 합니다.
nable to find method ‘org.gradle.api.tasks.SourceSet.getCompileConfigurationName()Ljava/lang/String;’. Possible causes for this unexpected error include: Gradle’s dependency cache may be corrupt (this sometimes occurs after a network connection timeout.) Re-download dependencies and sync project (requires network)
The state of a Gradle build process (daemon) may be corrupt. Stopping all Gradle daemons may solve this problem. Stop Gradle build processes (requires restart)
Your project may be using a third-party plugin which is not compatible with the other plugins in the project or the version of Gradle requested by the project.
In the case of corrupt Gradle processes, you can also try closing the IDE and then killing all Java processes.
저는 gradle-6.9-all.zip 버전으로 설정하였습니다.
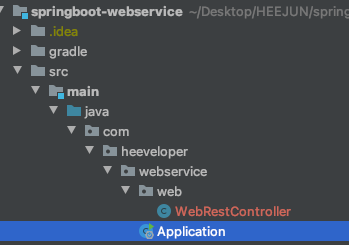
자동 생성된 패키지명이 길어서 src/main/java/com/heeveloper 안에 springbootwebservice 패키지명을 webservice로 변경하고,
webservice 패키지 안에 SpringBootWebServiceApplication.java 파일명을 Application.java로 변경하겠습니다.
그리고 추가로 web 패키지를 생성하여 WebRestController.java 파일을 생성하겠습니다.
@RestController
public class WebRestController {

    @GetMapping("/hello")
    public String hello() {
        return "HelloWorld";
    }
}
@RestController 는 @ResponseBody 를 모든 메소드에 적용해줍니다.
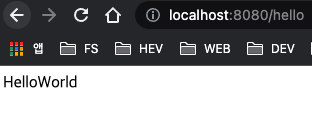
즉, hello 메소드 결과인 “HelloWorld” 문자열을 JSON 형태로 반환하게 됩니다.
Application.java를 Run해주면 아래와 같이 확인할 수 있습니다. (localhost:8080/hello)
1-2. Github 연동하기
방금 생성한 프로젝트를 Github과 연동해보겠습니다.
Git 연동의 경우 IntelliJ, SourceTree 등 여러 가지 툴이 있지만 저는 일반 콘솔에서 진행하도록 하겠습니다.
각자 편한 걸 사용해주세요.
1) Github 내 Repository 생성
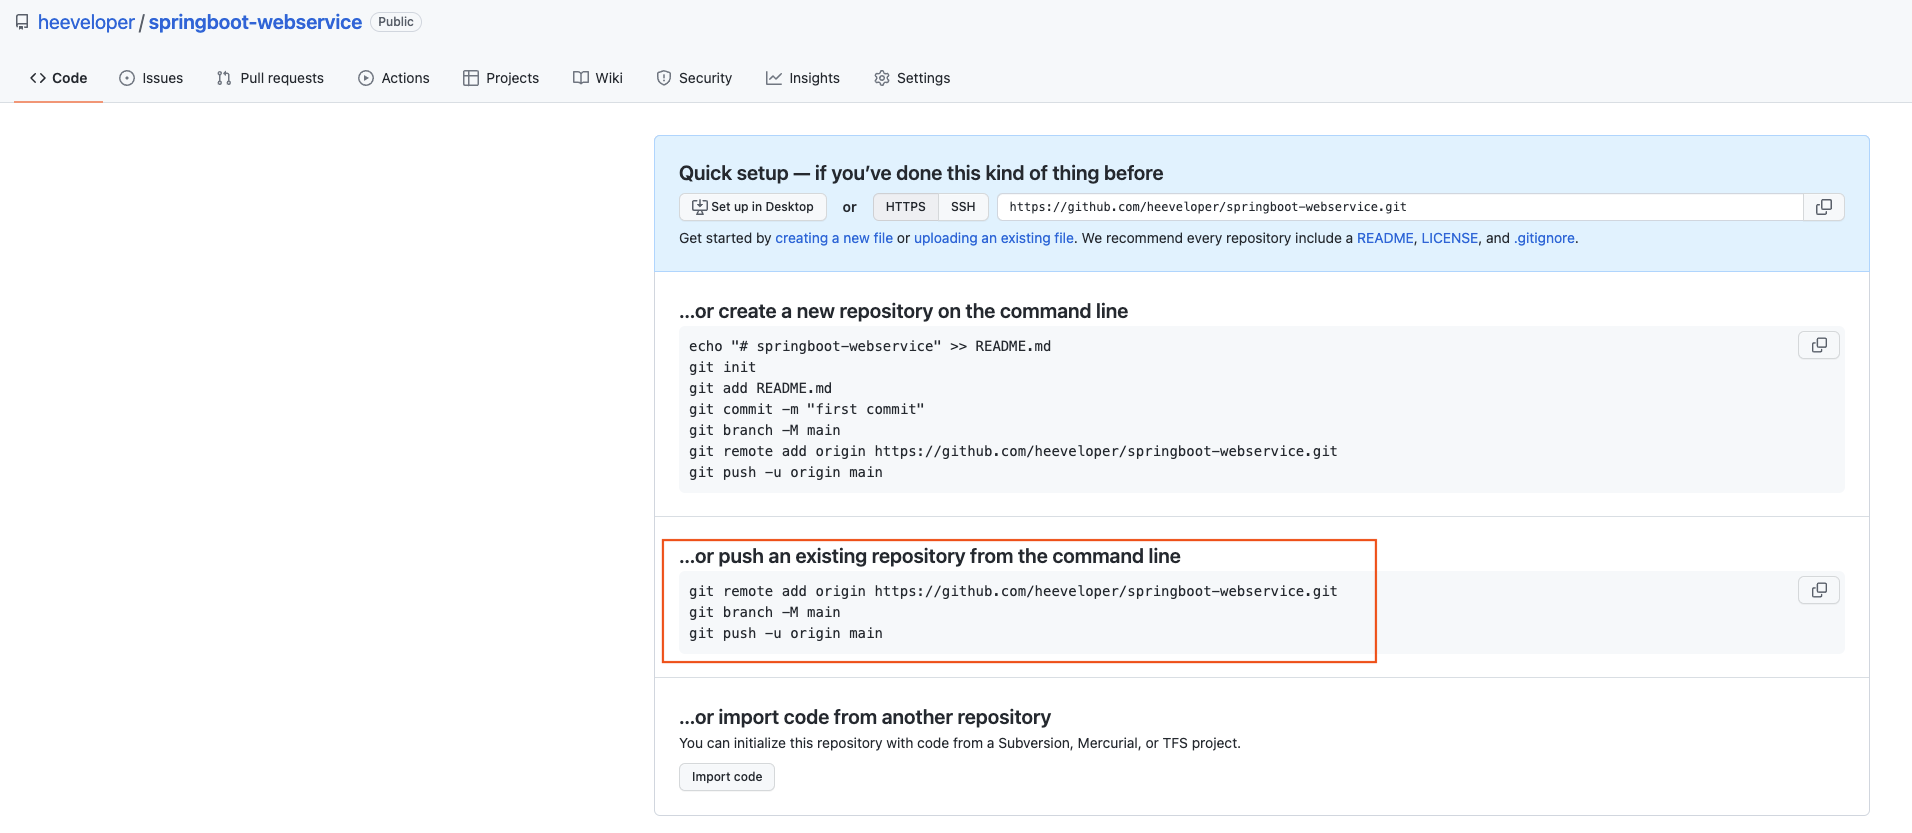
2) 로컬 프로젝트와 Github 연동
프로젝트 상위 페이지에서 아래와 같이 진행해줍니다.
- git init
- git remote add origin [githuburl.git]
- git add .
- git commit -m “Commit Message”
- git push origin master
참고로 Spring Initializr 를 통해 생성하게 되면 자동으로 .gitignore 가 생성되는데 Git에서 관리하지 않는 대상들을 자동으로 설정해놓았습니다.
커밋 후 푸시를 하면 Github 에 파일이 업로드 된 것을 확인하실 수 있습니다 👏
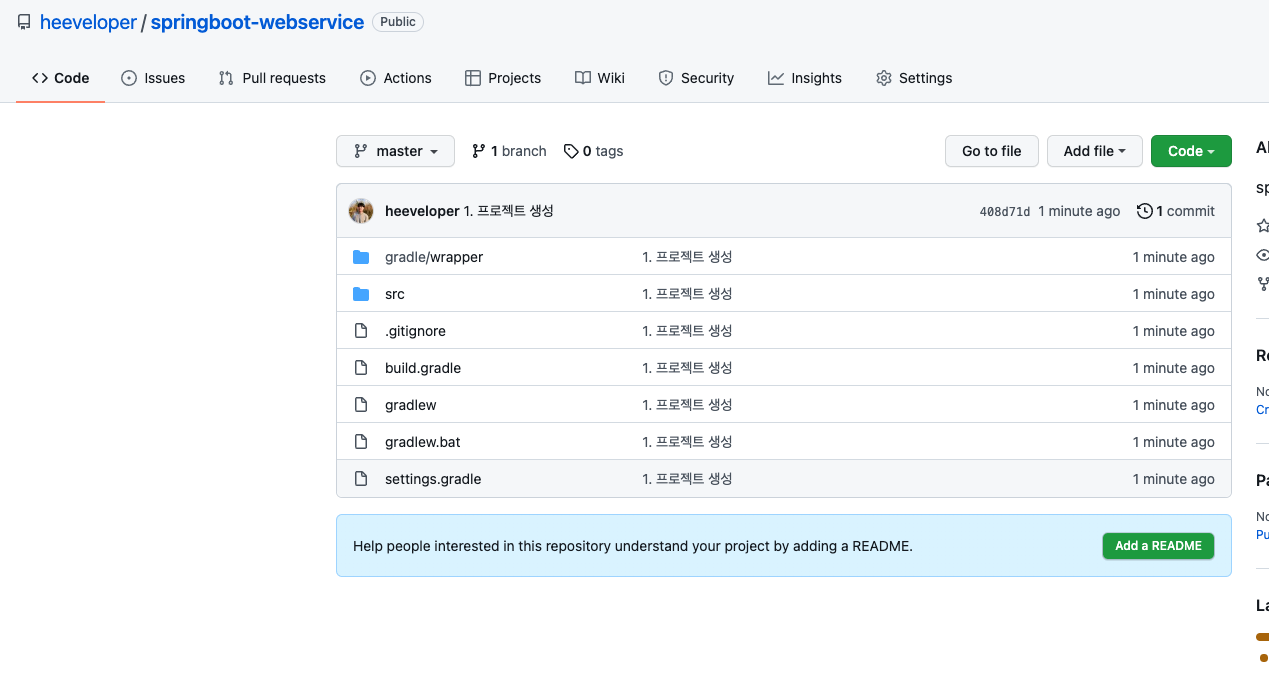
아마 대부분의 분들은 Git 사용에 익숙하시리라 생각하여 간단하게만 정리해보았습니다.
다음 시간에는 SpringBoot & JPA로 간단한 CRUD 서비스를 진행해 보겠습니다.
감사합니다! 😁
본 글은 아래 블로그와 책을 참고하였습니다.
- https://jojoldu.tistory.com/250?category=635883
- 스프링부트와 AWS로 혼자 구현하는 웹 서비스